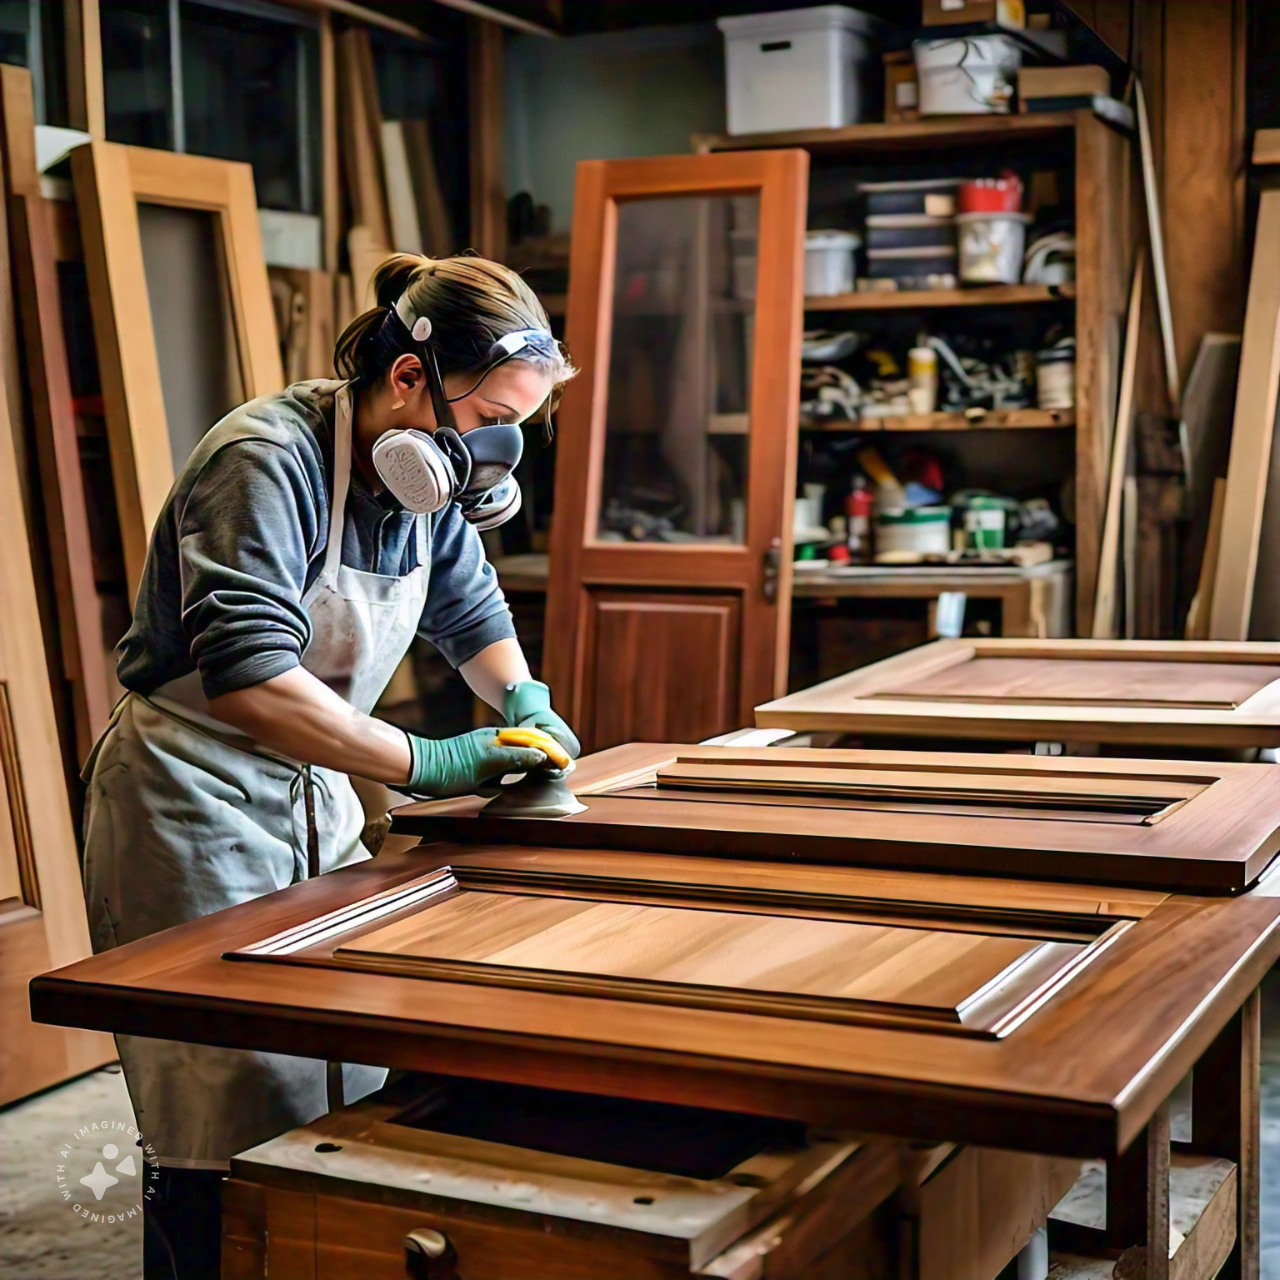
Refinishing hardwood doors is a fantastic way to bring new life to your home without spending a lot of money. Over time, doors can become scratched, faded, or chipped, but with a little effort and some DIY skills, you can restore them to their former glory. This guide will walk you through how to refinish hardwood doors step-by-step, with easy-to-understand tips that even an 8th grader could follow. So, roll up your sleeves, and let’s get started!
Why Refinish Your Hardwood Door?
Hardwood doors are both beautiful and durable, but daily wear and tear can take a toll on them. Refinishing is an affordable way to:
- Restore their original beauty
- Protect the wood from future damage
- Increase the value and aesthetic of your home
Plus, it’s a rewarding project that you can complete over a weekend!
What You’ll Need:
Before starting, gather all your tools and materials to make the process smoother. Here’s a basic list:
- Sandpaper (80, 120, and 220 grit)
- Electric sander (optional, but will make the job faster)
- Wood stain or paint
- Polyurethane or varnish
- Paintbrushes or rags
- Drop cloths to protect your floor
- Painter’s tape
- Screwdriver (to remove hardware)
- Safety goggles and gloves
Step 1: Remove the Door from Its Hinges
The first step in refinishing your hardwood door is to take it off the hinges. This will give you full access to the surface of the door and make it easier to work on. Use a screwdriver to carefully remove the screws from the hinges and lift the door off. Place the door flat on two sawhorses or a sturdy table covered with a drop cloth to avoid scratches or dents.
Step 2: Remove Hardware
Remove all door hardware, such as handles, knobs, locks, and hinges. This will ensure you don’t accidentally stain or damage them during the refinishing process. Keep the hardware organized in a safe place so it’s easy to reinstall later.
Step 3: Sand the Door
Now that the door is ready, it’s time to sand off the old finish. Use 80-grit sandpaper for heavy stripping and work your way up to finer grits like 120 and 220 to smooth out the surface. If you have an electric sander, it can make this step quicker, but if you don’t, a sanding block will do just fine.
Make sure to sand evenly, paying close attention to edges and corners where old finish can accumulate. Always sand in the direction of the wood grain to avoid scratches.
Step 4: Clean the Surface
Once you’ve finished sanding, you’ll need to clean the surface to remove all dust and debris. You can use a damp cloth or a vacuum with a soft brush attachment to ensure the door is dust-free. Any remaining dust particles can interfere with the finish, so take your time with this step.
Step 5: Apply Stain or Paint
Now comes the fun part—choosing whether to stain or paint your door. If you love the natural wood grain, a wood stain is the way to go. If you prefer a fresh, new color, opt for paint.
- For stain: Use a clean rag or a brush to apply the stain in even strokes, going with the grain of the wood. Let the stain sit for a few minutes, then wipe off any excess with a clean cloth. You can apply multiple coats to achieve a darker tone, but be sure to let each coat dry fully before adding another.
- For paint: Use a high-quality paintbrush to apply even coats of paint. Depending on the color and type of paint, you may need two or three coats. Let each coat dry completely before applying the next.
Step 6: Apply a Protective Finish
After the stain or paint has dried, you’ll need to protect the door with a clear finish like polyurethane or varnish. This step is essential to safeguard the wood from moisture, scratches, and daily wear.
Use a brush to apply a thin coat of polyurethane or varnish, making sure to cover all surfaces evenly. Allow it to dry, then lightly sand with 220-grit sandpaper between coats to ensure a smooth, professional finish. Most doors require two or three coats for optimal protection.
Step 7: Reattach the Hardware and Hang the Door
Once the finish is completely dry, reattach the hardware, such as knobs, locks, and hinges. Be careful when reinstalling the door on the frame to avoid damaging your fresh new finish.
Additional Tips:
- Test the stain or paint: Before applying stain or paint to the entire door, test it on a small area to ensure you’re happy with the color.
- Work in a well-ventilated area: Stains, paints, and polyurethane can release strong fumes, so it’s important to work in a well-ventilated space.
- Use painter’s tape: Tape around any glass panes or areas you don’t want to paint or stain for a neat, clean finish.
When to Call in the Pros
While refinishing hardwood doors is a great DIY project, there are some situations where calling a professional is the best option. If your door has deep gouges, cracks, or damage that sanding alone won’t fix, it’s better to get help from an expert.
If you’re short on time or don’t have the tools, refinishing might be more hassle than it’s worth. Hiring a pro will ensure your door looks beautiful and lasts for years.
Need Professional Help?
If you’re ready to transform your hardwood doors but prefer to leave it to the experts, our professional refinishing service is here to help. We offer high-quality, affordable refinishing services that will make your doors look as good as new. Contact us today to get a quote and give your home the facelift it deserves!


