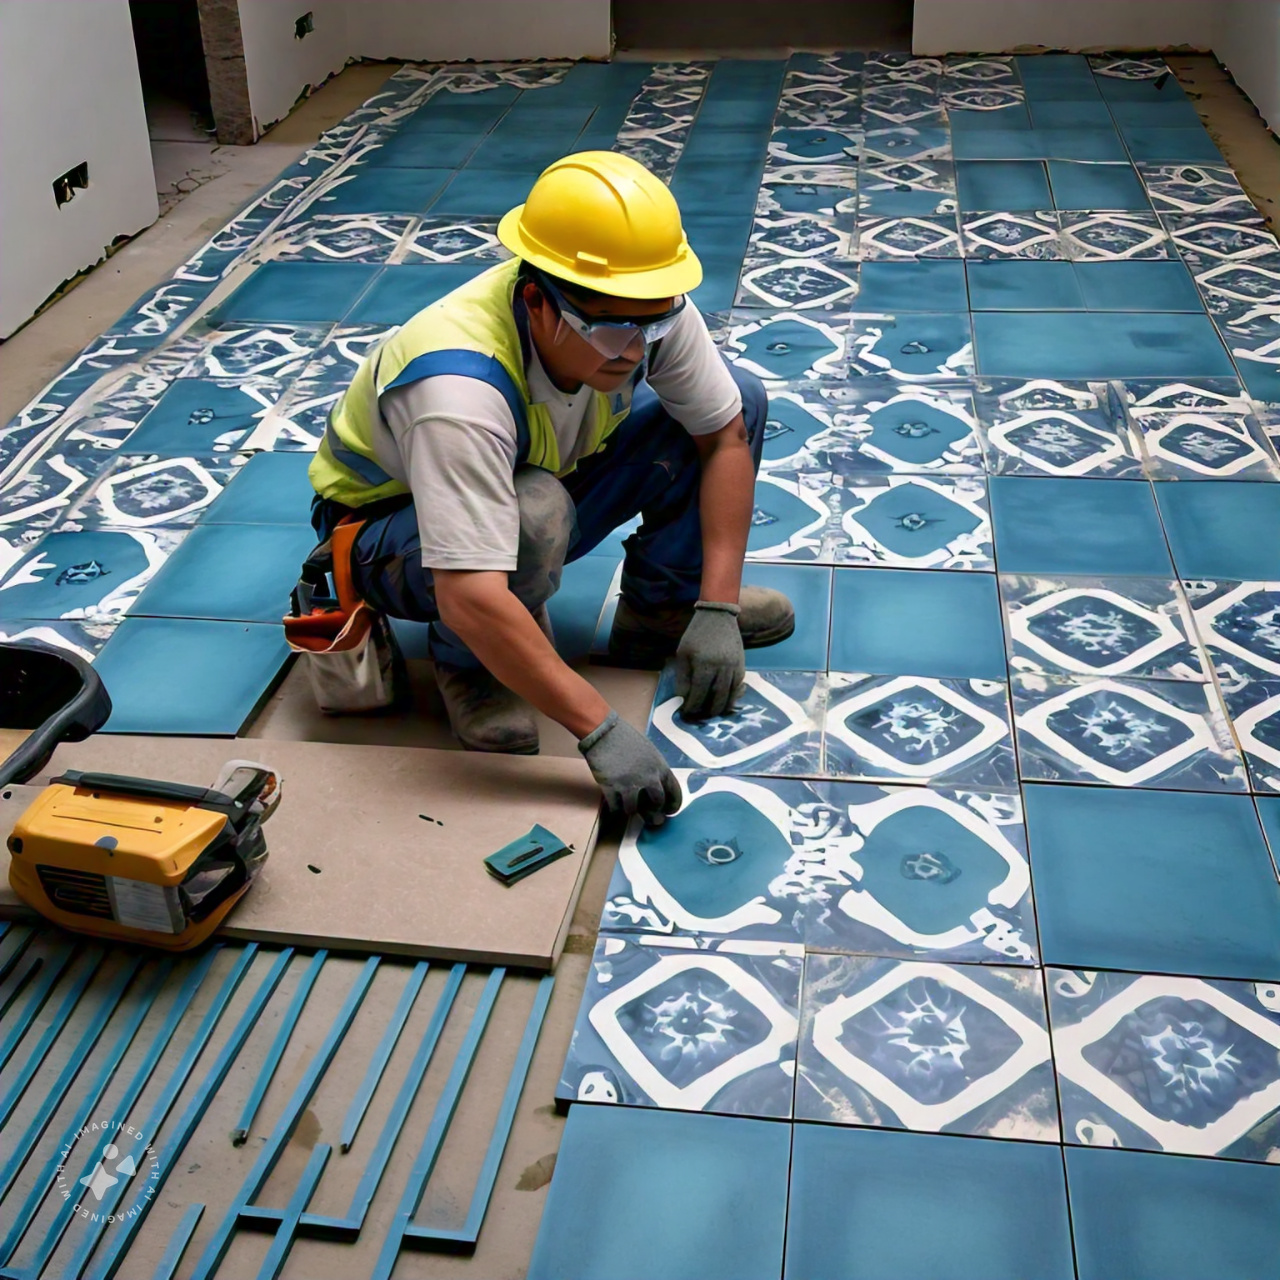
Installing floor tiles can seem like a difficult task, but with the right approach, even beginners can achieve great results. Whether you’re looking to upgrade your kitchen, bathroom, or another room in your home, this step-by-step guide will walk you through the basics of floor tile installation. By following these simple instructions, you can get professional-looking results and save money by doing the work yourself.
Step 1: Gather Your Materials
Before you begin your floor tile installation project, it’s essential to have all the necessary materials ready. Here’s a basic list of what you’ll need:
- Tiles: Choose the type of tile that fits your style and room. Ceramic, porcelain, and vinyl tiles are popular options.
- Tile Adhesive (Thinset): This is used to glue the tiles to the floor.
- Tile Spacers: Small, cross-shaped pieces that help ensure even spacing between tiles.
- Tile Cutter or Wet Saw: You’ll need this to cut tiles to fit around edges and corners.
- Grout: A cement-like substance used to fill the gaps between tiles.
- Notched Trowel: Used to spread the adhesive evenly on the floor.
- Level: To make sure your floor is even.
- Rubber Mallet: Gently tap tiles into place to ensure they are well set.
- Sponge and Bucket of Water: For cleaning up excess grout and adhesive.
Step 2: Prepare the Surface
Before laying any tiles, it’s crucial to prepare the surface of the floor. If you’re installing tiles on a concrete floor, ensure it’s clean, level, and free of any cracks. For wooden subfloors, you may need to install a cement backer board to provide a stable and moisture-resistant surface.
- Clean the floor: Make sure the floor is free of dust, dirt, and debris.
- Check for level: Use a level to check the flatness of your floor. If there are any uneven spots, you may need to apply a self-leveling compound.
- Dry fit your tiles: Lay out your tiles without adhesive to ensure they fit well and to plan your pattern. Make sure to start in the center of the room and work your way out to the edges.
Step 3: Mix and Apply the Tile Adhesive
Once your surface is prepped, it’s time to start laying down the adhesive. Follow the instructions on the adhesive package to mix it properly.
- Spread the adhesive: Use the notched trowel to spread a layer of adhesive on a small section of the floor. Work in manageable sections to prevent the adhesive from drying before you place the tiles.
- Create grooves: Hold the trowel at a 45-degree angle to create grooves in the adhesive. These grooves help the tiles stick firmly to the floor.
Step 4: Lay the Tiles
Now it’s time to lay the tiles. Start in the center of the room and work toward the edges.
- Place the tiles: Gently press each tile into the adhesive, twisting slightly to ensure a strong bond.
- Use tile spacers: Place tile spacers between each tile to ensure even gaps for grout later.
- Check for level: As you go, use a level to make sure the tiles are even. If a tile sits too high, gently tap it down with a rubber mallet. If it’s too low, lift it up and add more adhesive.
- Cut tiles as needed: When you reach the edges of the room, use a tile cutter or wet saw to cut tiles to fit.
Step 5: Let the Adhesive Dry
Once all the tiles are in place, let the adhesive dry completely. This usually takes about 24 hours, but check the adhesive package for specific drying times.
Step 6: Apply the Grout
After the adhesive has dried, it’s time to apply grout between the tiles.
- Mix the grout: Follow the instructions on the grout package to mix it to the right consistency.
- Apply the grout: Use a rubber grout float to spread the grout over the tiles, pressing it into the gaps between them. Work in small sections to ensure the grout doesn’t dry out before you can clean it.
- Clean excess grout: After applying the grout, use a damp sponge to wipe away any excess from the tile surfaces. Be careful not to pull grout out of the gaps while cleaning.
Step 7: Let the Grout Set
Once the grout is applied, let it set according to the instructions on the package. This typically takes around 24 hours.
Step 8: Seal the Grout (Optional)
Sealing the grout is optional but recommended, especially in high-moisture areas like kitchens or bathrooms. Grout sealers help prevent stains and make it easier to clean the tiles in the future. Follow the instructions on the sealer package for application.
Step 9: Final Touches and Cleanup
Once everything has dried, remove the tile spacers, and give the floor a final clean. Sweep up any leftover dust and debris, and your floor is ready to use!
Conclusion: Installing Floor Tiles Doesn’t Have to Be Hard
With a little patience and the right tools, anyone can tackle a floor tile installation project. By following these steps, you can transform any room in your home and save money by doing it yourself. Just remember, preparation is key, so take your time measuring, cutting, and fitting the tiles to ensure a professional-looking finish.
However, if you’re not comfortable with DIY projects or want to ensure the best results, it’s always a good idea to consult a professional. At Kennedy Tile and Flooring, we offer expert floor tile installation services to help you get the beautiful, durable floors you’ve always wanted. Contact us today to schedule a consultation and get started on your next home improvement project!


