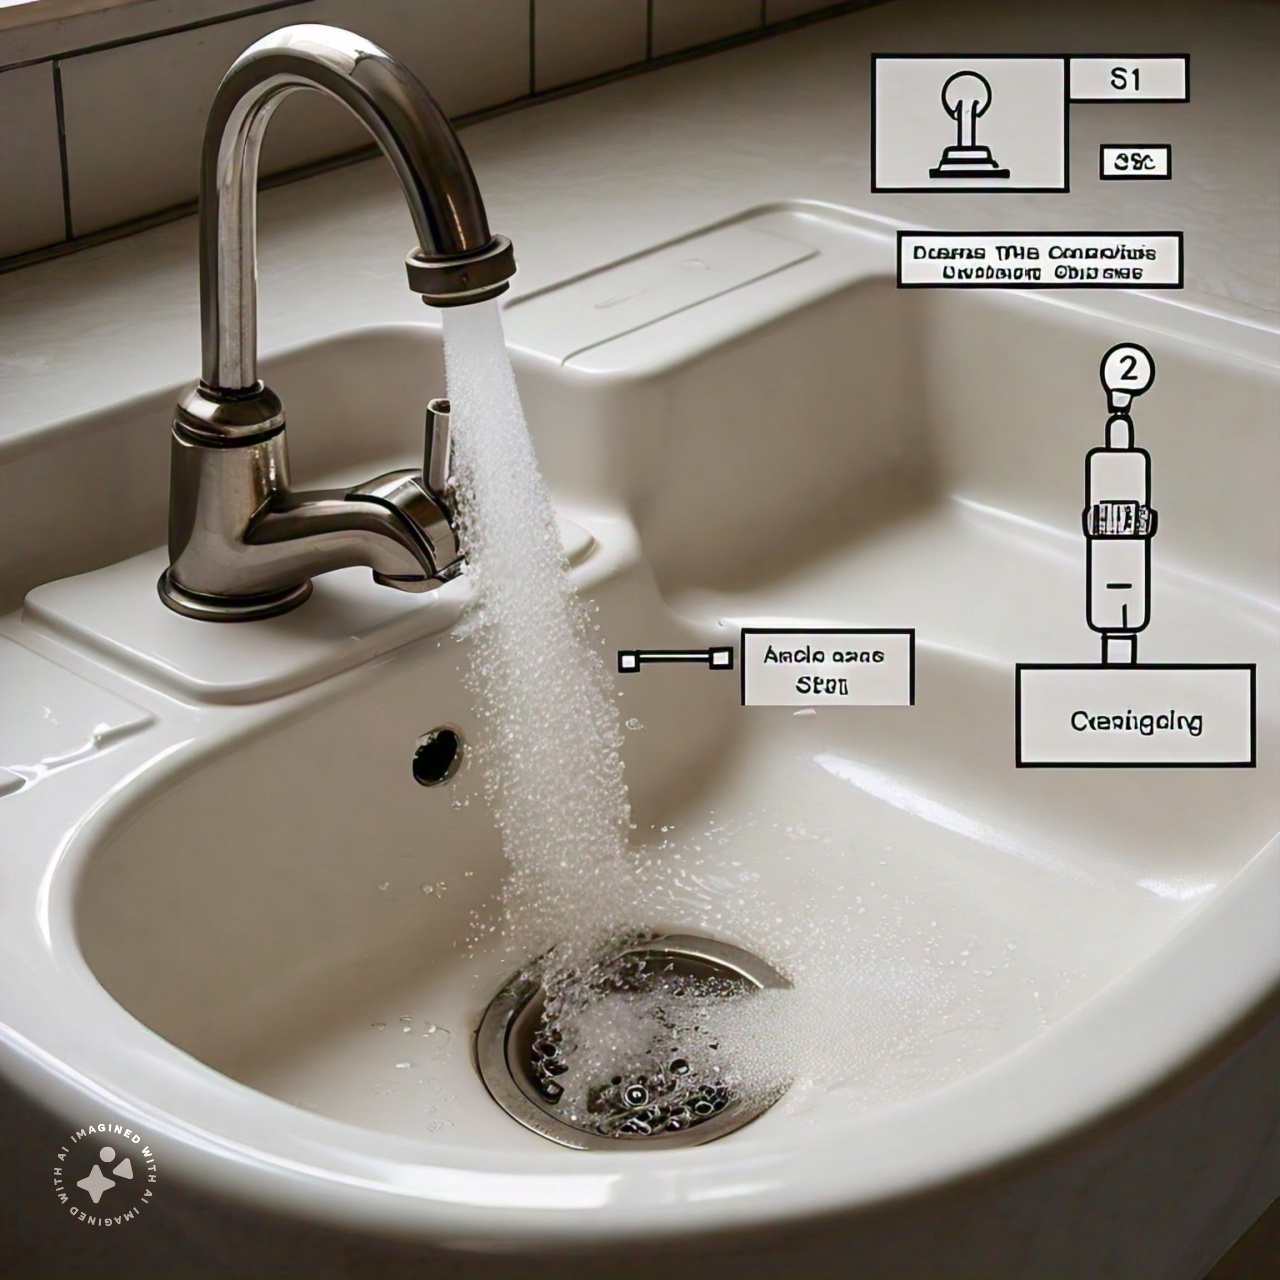
Every Hamitlon homeowner dreads the sudden realization that their sink is clogged. From slow-draining water to complete blockages, sink clogs can disrupt your routine and create unnecessary stress. Common reasons for sink clogs include food particles, grease, hair, and soap buildup. Regular maintenance and mindful usage can prevent many of these issues, but clogs can still occur despite our best efforts.
Maintaining a clear and functional sink is crucial for the smooth operation of your household. Addressing clogs promptly not only restores normalcy but also prevents potential damage to your plumbing system. In this guide, we will walk you through five easy steps to unclog your sink and keep your plumbing in top shape.
Identifying the Clog
Before diving into the unclogging process, it’s important to determine if your sink is genuinely clogged. Here are some telltale signs:
- Water draining slowly or not at all.
- Gurgling sounds coming from the drain.
- Unpleasant odors emanating from the sink.
Understanding the type of clog you’re dealing with can help you choose the most effective method for removal. Common types of clogs include:
- Partial Clogs: These slow down drainage but don’t completely block the water flow.
- Complete Clogs: These prevent any water from draining and often require more intensive removal techniques.
- Grease and Oil Build-up: Typically found in kitchen sinks, these clogs form when grease solidifies in the pipes.
- Hair and Soap Scum: Common in bathroom sinks, these clogs result from hair and soap combining to form a stubborn blockage.
Tools and Materials
Having the right tools and materials on hand can make the unclogging process smoother and more efficient. Here’s what you’ll need:
- Plunger: A sink-specific plunger can create the necessary suction to dislodge minor clogs.
- Plumber’s Snake: Also known as an auger, this tool can reach deep into the pipe to break up stubborn clogs.
- Bucket and Towels: Essential for catching water and keeping the area clean.
- Wrench: Useful for loosening the P-trap.
- Eco-friendly Drain Cleaner: A safer alternative to harsh chemical cleaners, such as a mixture of baking soda and vinegar.
The 5-Step ProcessStep 1: Preliminary Checks and Safety Measures
Before you begin, ensure you take the following preliminary steps:
- Turn off the water supply to prevent any accidental flooding.
- Clear the sink area of dishes, soap, and other items to provide ample workspace.
- Put on gloves to protect your hands from grime and sharp objects.
Step 2: Clearing the Area Under the Sink
Prepare the workspace by placing a bucket under the sink to catch any water or debris:
- Remove items stored under the sink to give yourself enough room to work.
- Place towels around the area to absorb any spillage or splatter.
Step 3: Removing the Stopper or P-trap
To access the clog, you may need to remove the sink stopper or P-trap:
- Remove the sink stopper: Most stoppers can be taken out by twisting and lifting. Clean off any gunk that may be contributing to the clog.
- Loosen the P-trap using a wrench: Place the bucket underneath to catch any water or debris that spills out. Inspect the P-trap and clear out any visible clogs.
Step 4: Using Tools and Techniques to Dislodge the Clog
With the P-trap removed or the stopper cleared, use the following techniques to remove the clog:
- Plunge the sink: Use a sink plunger to create suction and dislodge the clog. Ensure there is enough water in the sink to cover the plunger’s cup.
- Use a plumber’s snake: Insert the snake into the drain and twist the handle to break up the clog. Pull out the snake and clean off any debris.
- Eco-friendly cleaner: Pour a mixture of baking soda and vinegar down the drain followed by hot water. This can help dissolve minor clogs and deodorize the pipes.
Step 5: Reassembling the Sink and Checking for Proper Drainage
After removing the clog, it’s time to reassemble the sink and ensure everything is working correctly:
- Reattach the P-trap: Tighten it securely with a wrench and ensure there are no leaks.
- Replace the sink stopper: Make sure it is properly seated and functioning.
- Run water to test drainage: Turn on the faucet and check for smooth, uninterrupted water flow.
Preventing Future Clogs
Prevention is key to maintaining a clog-free sink. Here are some tips to keep your drains clear:
- Avoid pouring grease or oil down the drain: Instead, dispose of it in a separate container.
- Use a drain cover to catch hair and food particles.
- Regularly flush your drains with hot water to prevent buildup.
- Be mindful of what you put down the drain: Avoid flushing large food particles, coffee grounds, and fibrous materials.
Conclusion
Unclogging a sink doesn’t have to be a daunting task. By following these five easy steps, you can quickly and effectively clear most clogs and restore your sink to full functionality. Remember, regular maintenance and mindful usage are essential to prevent future clogs and keep your plumbing system in top condition.
For homeowners facing stubborn or recurring clogs, don’t hesitate to seek professional help from Hamilton plumbers offer expert assistance to handle more challenging plumbing issues. Investing in professional care can save you time, money, and frustration in the long run.
Take charge of your home’s plumbing health and enjoy the peace of mind that comes with a smoothly running sink. Share your unclogging success stories with us and let’s keep our homes in tip-top shape together!


